Project Control Center
The Control Center is a place from where the project managers can control the entire project from one place, and it gives an overall view of the health of the project. You can define the functional scope and IT scope, monitor communications between team members, and ensure project cadence all from a single place within KTern. The project manager can also add and monitor potential risks during the project. The risk indicators, risk response and the person responsible can also be managed from within KTern. Control center contains the following sub-sections:
- Smart project charter
- Intelligent risk management
- Intelligent communication matrix
- Organization structure auto-formulator
Working with Project Control Center
-
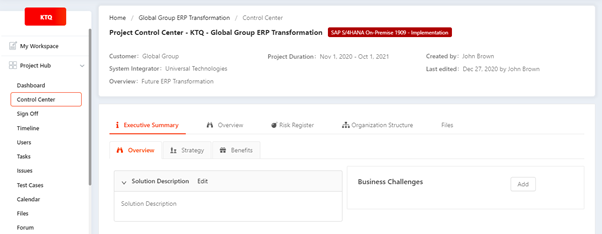
Click on Project Hub in the left sidebar of the Application. A list of dropdown options will be displayed. Click on ‘Control Center’ to open the Project Control Center as shown below:
-
Project Information Card: On the top of the project control center, you can find the Project information card. This card displays the basic information about the project. You can see the following details
- Project title
- Project type
- Customer name
- Project duration
- Created by
- System Integrator
- Last edited date
- Overview (Description about the Project)

-
You can see the following Project charter information below
- Executive Summary
- Overview
- Risk Register
- Organization Structure
- Files
-
Executive Summary: The executive summary displays the Business case of the project. Under the executive summary tab, you can see the following details:
- Overview tab: You can see the Solution description and Business challenges of the customer. You have options to add/edit against each field.

- Strategy tab: You can see the Business strategy and IT strategy of the project.

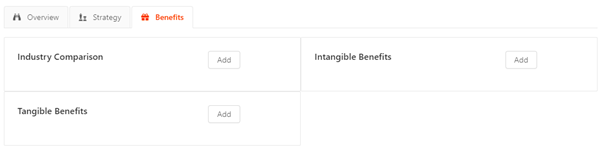
- Benefits tab: You can see benefits of the project here – Industrial comparison, tangible and intangible benefits.
-
Overview tab: On clicking on the overview tab, you can see the following details:

-
Overview tab: Items beyond the control of the Project Team that limit options. Items believed to be true for and project limits – based on the Discovery and Evaluation Phase, can be further developed can be mentioned in the Assumption and Constraint fields.
-
Scope tab: This section will outline the SAP solutions in scope and a high-level project scope. The project scope will be detailed in a separate scope document. Add any out-of-scope areas that are mentioned in the order form.
-
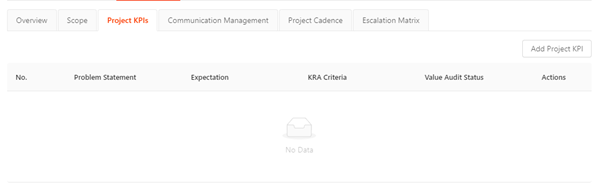
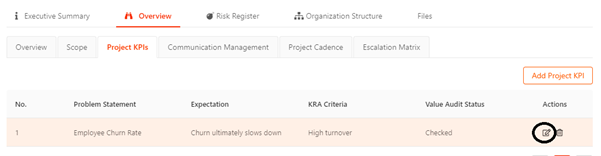
Project KPIs: This section displays the Project KPIs of the project. You can add/edit the Project KPI.
Adding a Project KPI
To add a Project KPI (Knowledge Performance Indicator), perform the following operations:
-
Click on ‘Add Project KPI’ button.
-
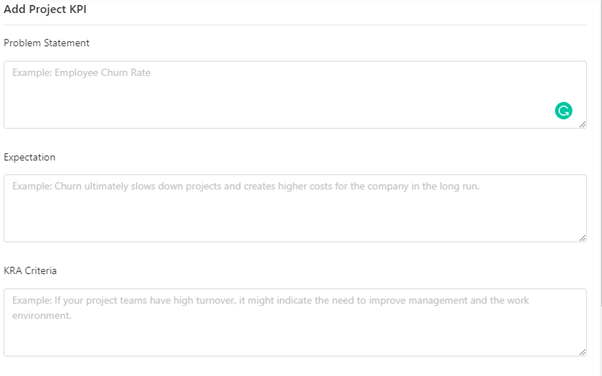
Clicking on the button, you can see a drawer being opened to create a new Project KPI as shown below:
-
Problem Statement: Enter the problem statement that need to be considered as Project KPI.
-
Expectation: Enter the expectation statement.
-
KRA Criteria: Enter the KRA (Key Result Areas) criteria.
-
Value Audit Status: Enter the status of the value audit.
-
All fields are mandatory. You must enter all the details to create a Project KPI
Editing the Project KPI
-
To edit the project KPI, click the edit icon present against the Project KPI list.
-
On clicking the edit icon, you can see the drawer being opened.
Deleting the Project KPI
- To delete the project KPI, click on the delete icon present against the Project KPI list.
-
-
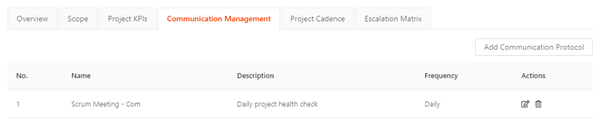
Communication Management tab: You can add communication protocols common for the Project.
Adding a Communication Protocol
To add a Communication Protocol perform the following operations:
-
Click on ‘Add Communication Protocol’ button.
-
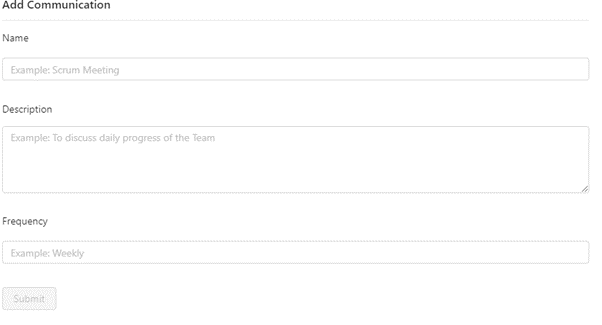
Clicking on the button, you can see a drawer being opened to create a new Project KPI as shown below:
-
Name: Enter the communication protocol name. E.g. Scrum meeting
-
Description: Enter the description. E.g., To discuss daily progress of the team.
-
Frequency: Enter the frequency
Editing the Communication Protocol
-
To edit the communication protocol, click the edit icon present against the list.
-
On clicking the edit icon, you can see the drawer being opened.
Deleting the Communication Protocol
- To delete the communication protocol, click on the delete icon present against the list item.
-
-
Project Cadence: You can maintain Project cadence information here
-
Escalation Matrix: An escalation matrix defines who you should notify on management level for various types of issues — resource shortages, technical issues, delivery problems etc. Defining an escalation path takes away the uncertainty about who to contact when you’re facing a big obstacle that management can potentially help you with.
-
-
Risk Register: The Risk and Response Log is used by the project team to document the description and assessment of risks and to offer action plans to respond to risks. The Risk and Response Log provides a reference for the project team and supports their need to be apprised of and evaluate the risks. (A risk is an uncertain event or condition, which if it occurs, has a positive or negative affect on a project’s objectives).
Adding a Risk
To add a risk, perform the following operations:
-
Click on ‘Add Risk’ button
-
A drawer will be opened to create risk
-
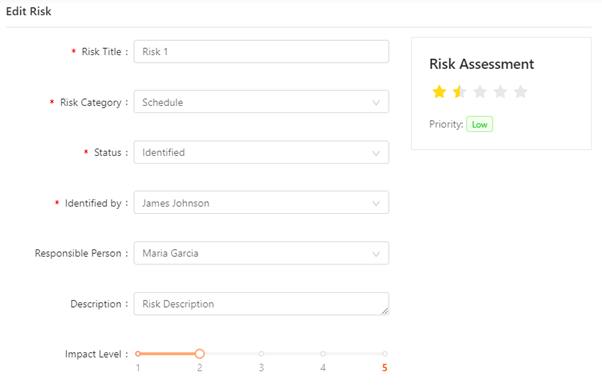
Risk Title: Enter the risk title identified. This field is mandatory.
-
Risk Category: Choose the risk category from the options provided – Project Scope, Schedule, Budget, Resources, Infrastructure, Project Management, Change Management, Project Organization, Customer Organization, Solution, Technology, Application, Environment, Commercial risks etc.,
-
Status: Choose the risk status – Identified, Planned, In-Process and Closed
-
Identified by: Choose the person who identified the risk
-
Responsible Person: Choose the person responsible to handle the risk
-
Description: Describe the risk- an event or condition, which if it occurs, has a positive or negative affect on a project’s objectives (e.g. The technology that is being purchased will not be supported by the manufacturer in 2 months).
-
Impact Level: Choose the impact level. State how the risk would affect the project if it occurs, (i.e. not having vendor support for this product would have an adverse affect to the roll out).
-
Probability of occurrence: Choose the probability of occurrence. Indicate the chance that the risk will occur using the scale of 1-5 (1 = low 5 = high).
-
Risk Strategy: Choose the risk strategy. We recommend you to follow the following strategy: Choose from one of the responses below.
-
Acceptance: Accept the consequences, will not hurt the overall project success, but may delay a milestone
-
Avoidance: Eliminate the cause of the risk - change the project direction to protect the project objectives from this impact.
-
Mitigation: Take action to reduce probability that the risk will occur to an acceptable threshold.
-
Transference: Transfer the responsibility of managing the risk, including ownership, and acceptance of consequences. Transference does not eliminate the risk.
-
-
Risk Level: Automatically calculated by by multiplying the probability of occurrence by the impact of risk. (The threshold for completing a Detailed Response Form is 15. If the Risk Level is 15 or above complete the Detailed Risk Response Form.)
-
Risk Response: Enter the response for each risk.
-
On entering the details, click on submit button.
Editing the Risk
To edit the risk details, click the edit icon present against the list. The edit drawer will be opened as follows:
-
-
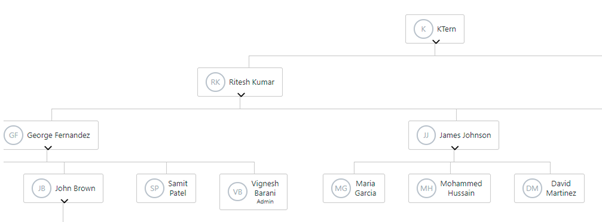
Organization Structure: Project organization provides an overview of the defined project structure, assignment of personnel, and a high-level definition of roles and responsibilities for all the team members within the project structure.
-
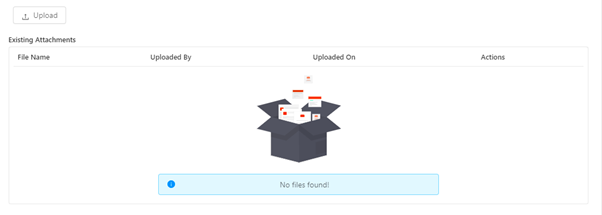
Files
You can upload files against the Project charter here.