Creating Signoff Item
Here are the steps you can follow to create signoff item using KTern:
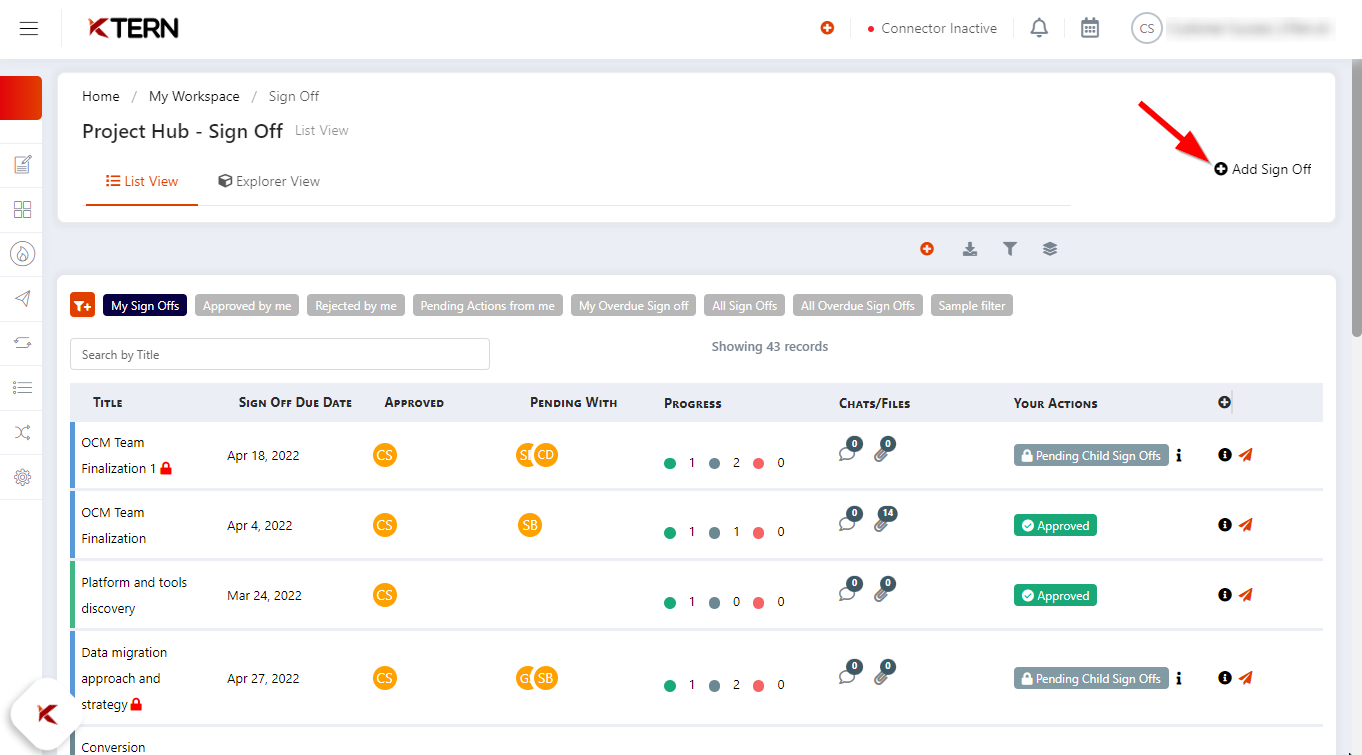
Step 1: Click on the “Add Signoff” button.
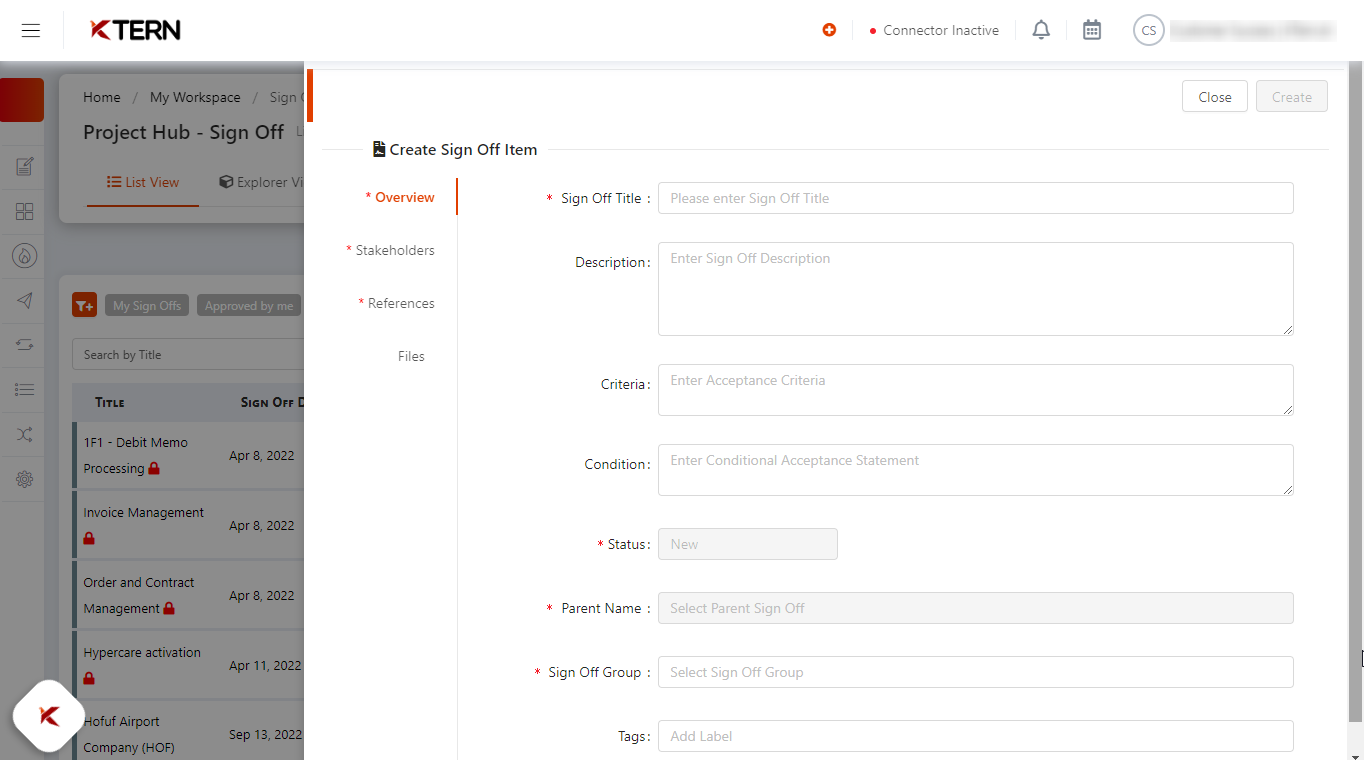
Step 2: This will open a drawer where you can specify the details of the signoff as mentioned below:
i. Overview:
In the overview tab, you will find the following fields:
-
Signoff Title: Please enter the title for the signoff. This is a mandatory field.
-
Description: You can enter an optional description for the signoff.
-
Criteria: Enter the acceptance criteria for the respective signoff item. This field is mandatory.
-
Condition: This is an optional field where you can enter a conditional acceptance statement.
-
Status: The default status of the signoff item is set to ‘New’.
-
Signoff Group: Choose the appropriate signoff group from the provided options.
-
Tags: Add tags to the signoff item for easy filtering and organization.
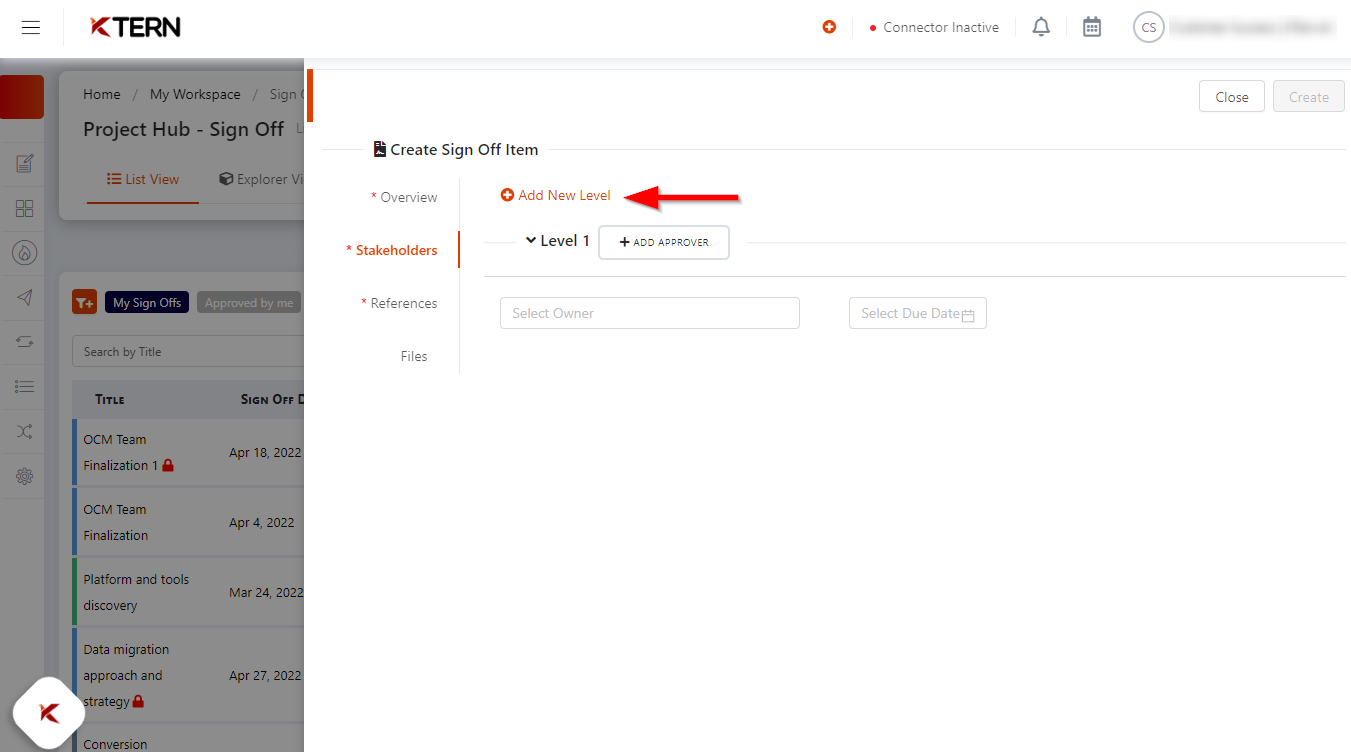
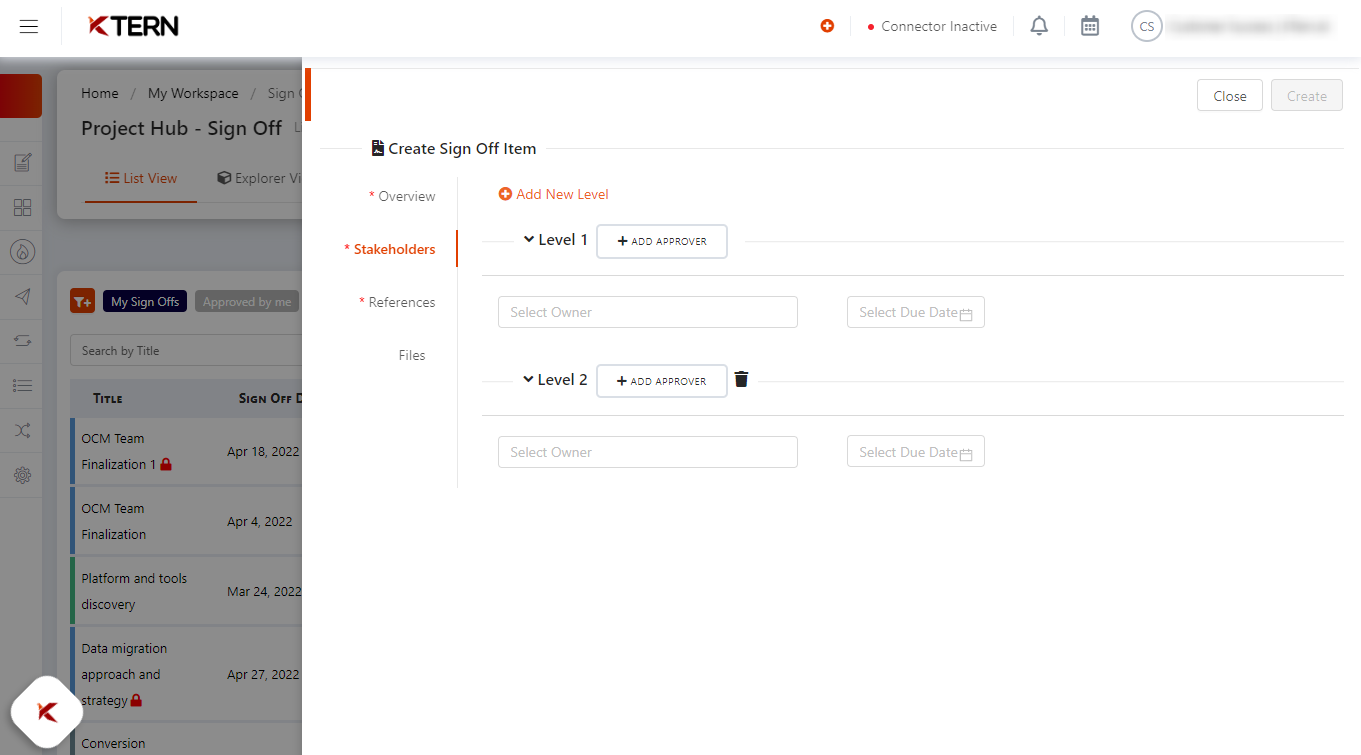
ii. Stakeholders:
In the Stakeholders tab, you will find the following fields:
-
Levels: You can set up multiple levels of signoff approval. To create a new level, click on the ‘Add New Level’ button. Upon clicking, a new level will be added as shown below:
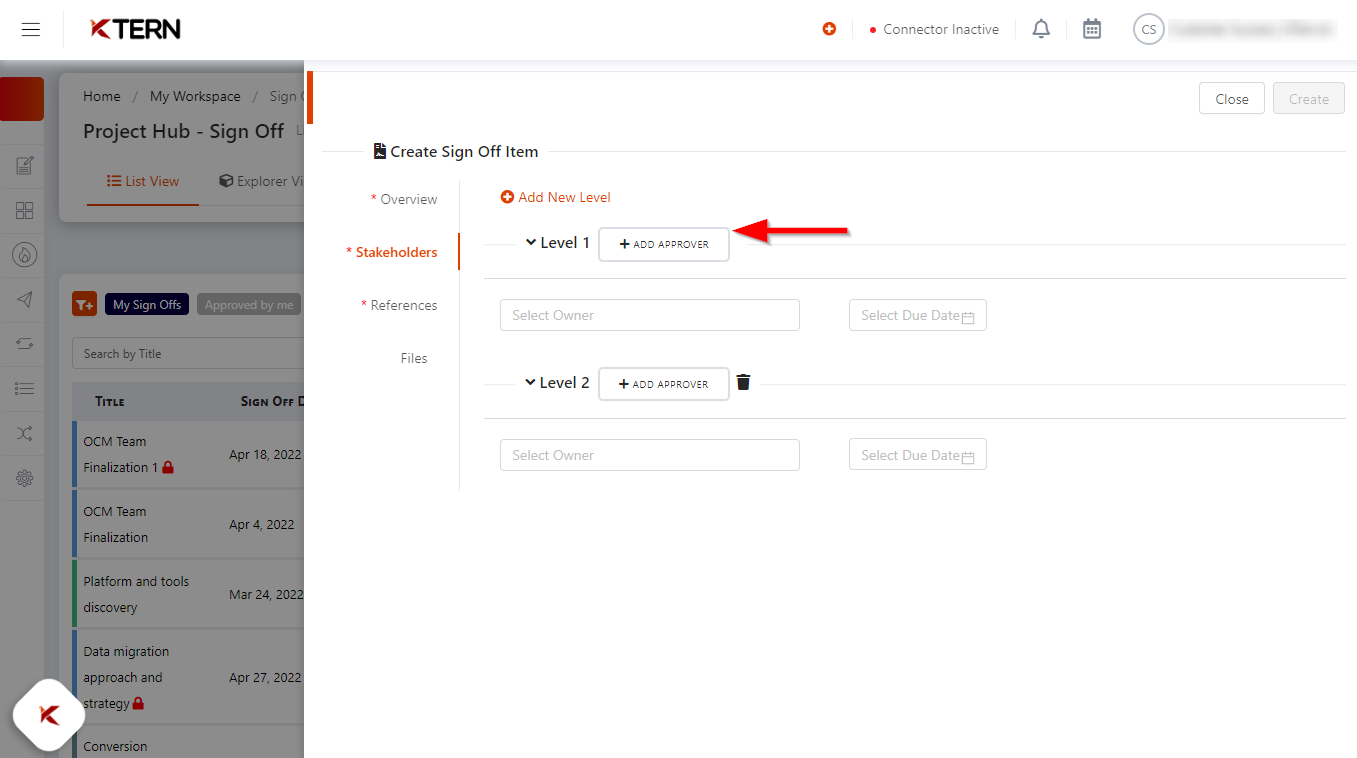
-
Approvers: You can add one or more approvers for each level. To add an approver for a specific level, click on the ‘Add Approver’ button. Choose the Owner and Due Date for each approver field.
-
Approver Levels: A signoff can be configured to have multiple levels of approvals, and each level of approval can have multiple parallel approvers.
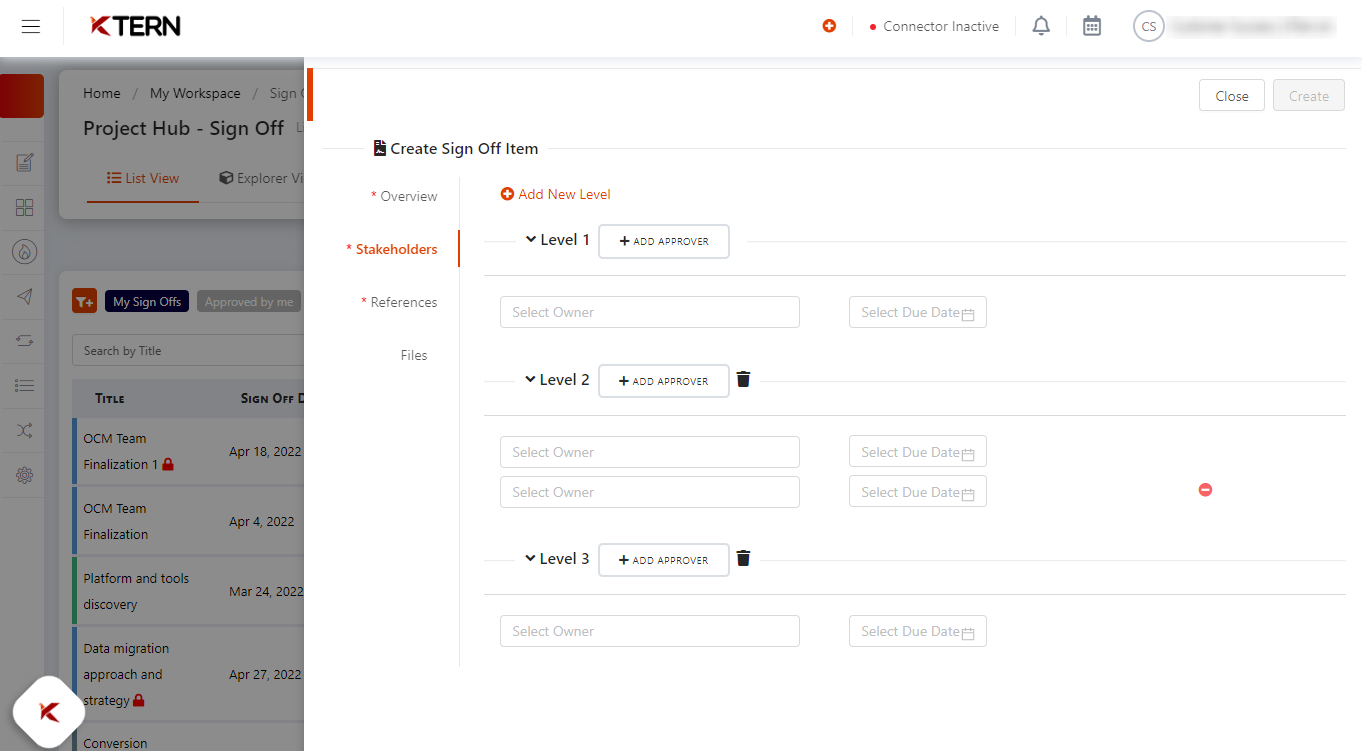
- For example, let's consider a signoff with the following approval levels: (i). Level 1 – User 1, (ii). Level 2 – User 2, User 3 (iii). Level 3 – User 4
- In the given example, "User 1" would be the first approver of the signoff. Once "User 1" approves the signoff, KTern will request the next level users for their approval.
- The signoff will continue to progress through all the configured levels until it reaches the last level, where the user in "Level n" (n being the last level) will be the final approver responsible for closing the signoff.
- If a user at any level rejects the signoff, all other users involved in the signoff will be notified accordingly.
- In the event that a user (part of the signoff) feels the need for re-approval from another user, they can request the other user for re-approval.
iii. References:
You can link the signoff item to any task, issue, or test case. To add a reference, click on the ‘Add New Reference’ button.
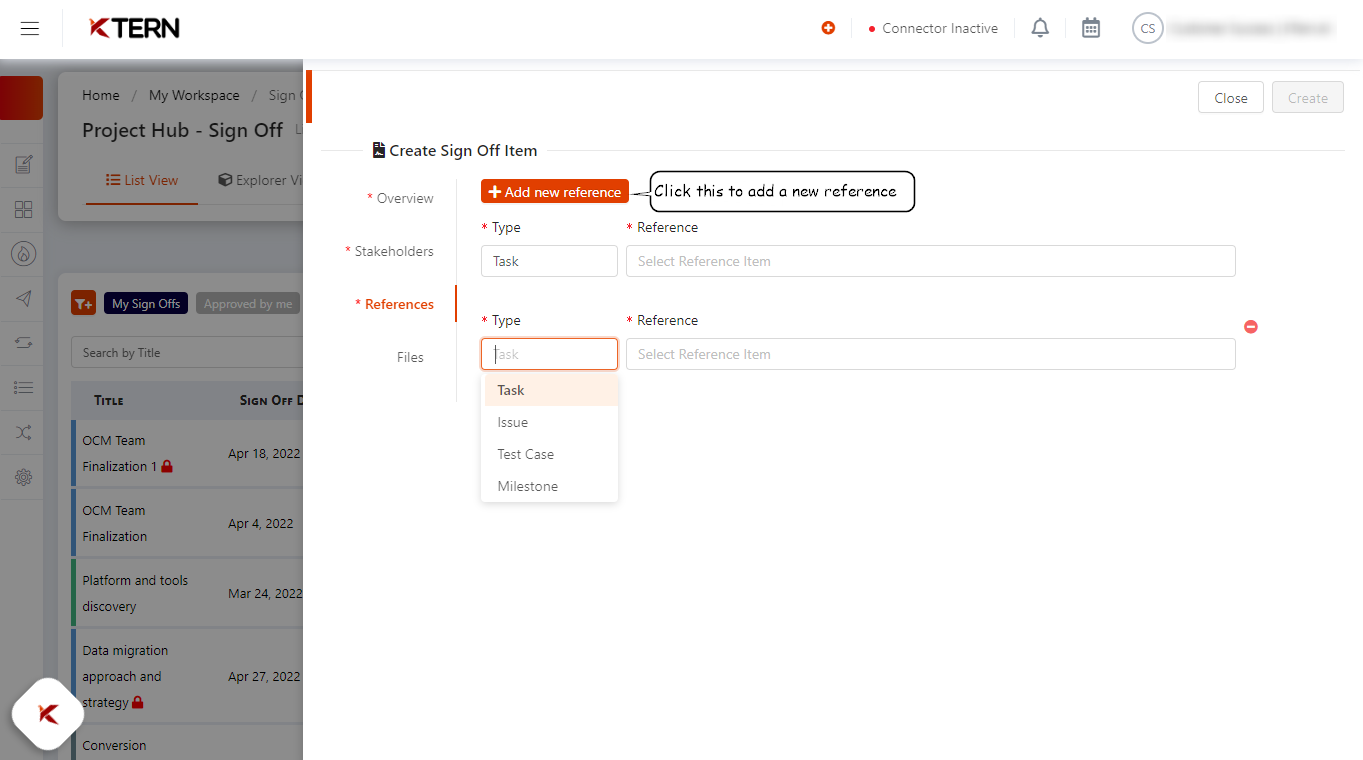
- Choose the Type: Task, Issue, or Test case.
- Select the item that needs to be linked to the respective signoff item.
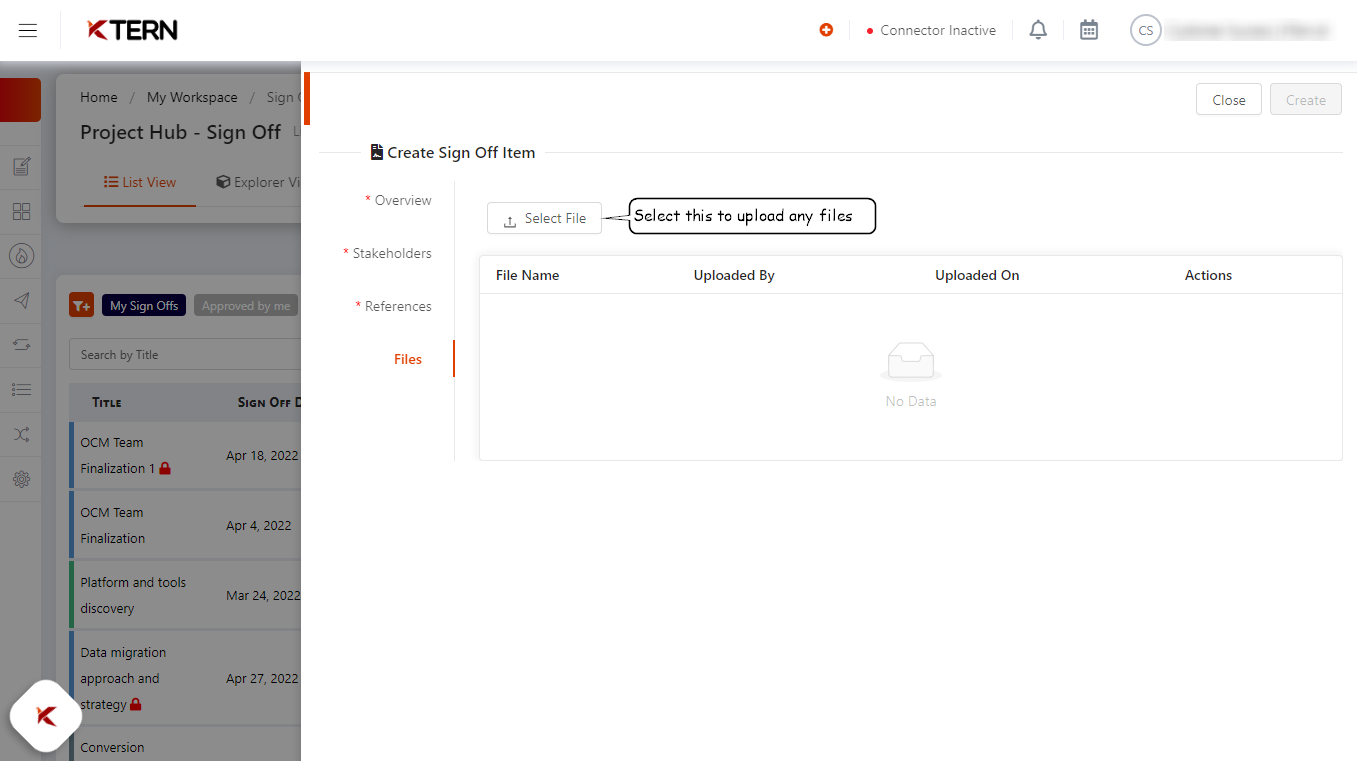
iv. Files:
In the files section, you can upload documents related to the signoff item. Approvers will be able to view all the uploaded files later.
Step 3: After providing the required information mentioned above, click on the ‘Create’ button to successfully create a signoff item.

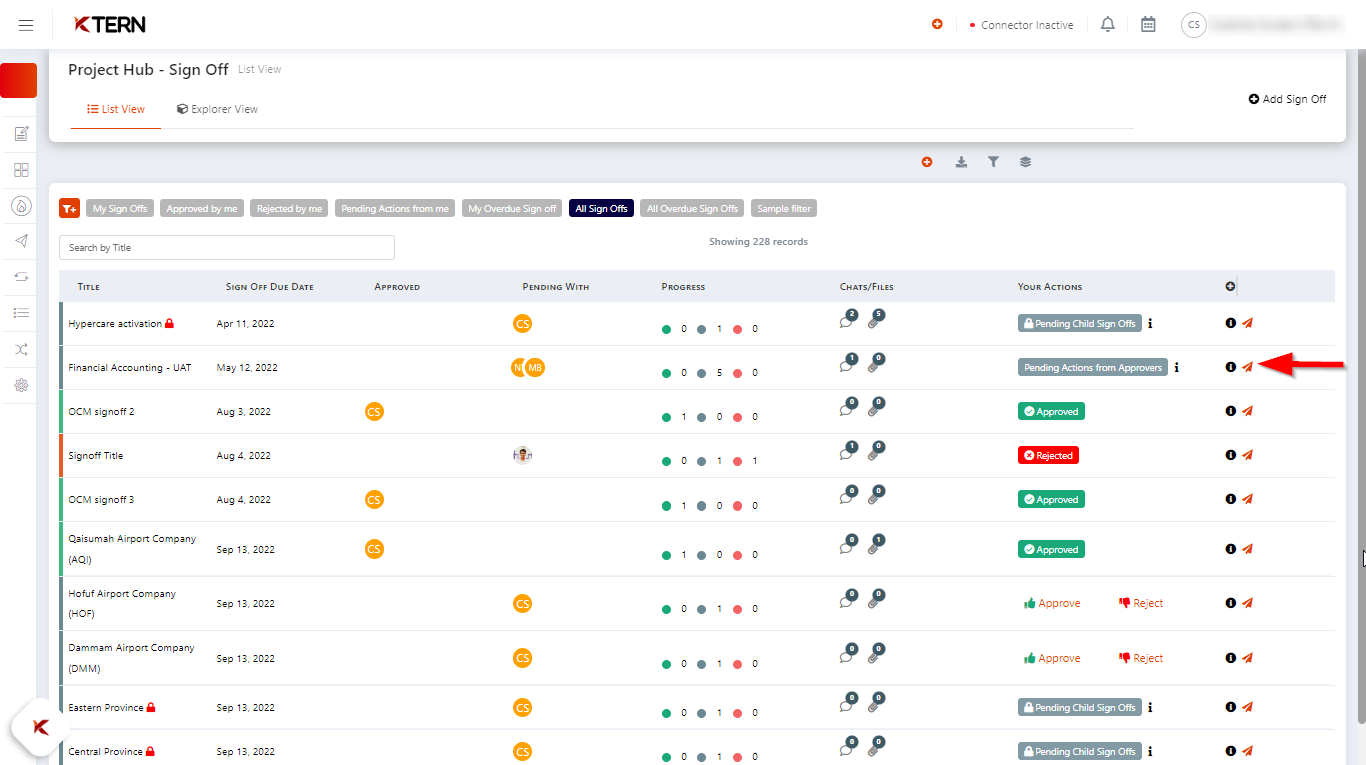
Step 4: It will now be visible on the process page and can be tracked and managed from there.