How To Create And Manage Your Defects Life Cycle?
For every failed test case in your Test Catalog, create your own Defects and manage them throughout their life cycle using “Issues”.

Create Defects
To create Defects, follow the mentions steps below:
- Click on the “+” icon.
![]()
- You will get the list of work item options – Task, Issue, Test Case and Event. Click on Issue option.

- Clicking on ‘Issue’ option, the drawer will be opened to create an issue as shown below:

- You can see three tabs in the ‘Create New Issue’ drawer. They are:
a. Overview
b. Stakeholder information
c. Planned vs Actual
Overview
Fill in the details like:
- Issue title
- Description
- Status
- Issue Type
- Raise to SAP
- Issue Source
- Risk Link
- Parent name
- Priority

Stakeholder Information
Fill in the details like:
- Assigned to
- Participants

Planned vs Actual
Fill in the details like:
- Planned start date
- Planned end date
- Actual start date
- Actual end date
- Planned duration (in hrs)
- Actual duration (in hrs)
- Planned location
- Actual location
- Planned environment
- Actual environment

- On filling the fields, the Create button on the top right corner will be enabled. You can click on Create button to create a new task.

Manage Defects
To manage the Defects created by using issue, follow the steps mentioned below:
- Click on the Hamburger icon.
![]()
- Click on Transformation hub.
![]()
- Click on Issues.

You will be redirected to Issues page.
Workitem
- Find all the created Defects in the Workitems. You will have Details of the defects like:
a. Title
b. Description
c. Status
d. Priority
e. Assigned to
f. Created by
g. Phase
h. Work package
i. Participants

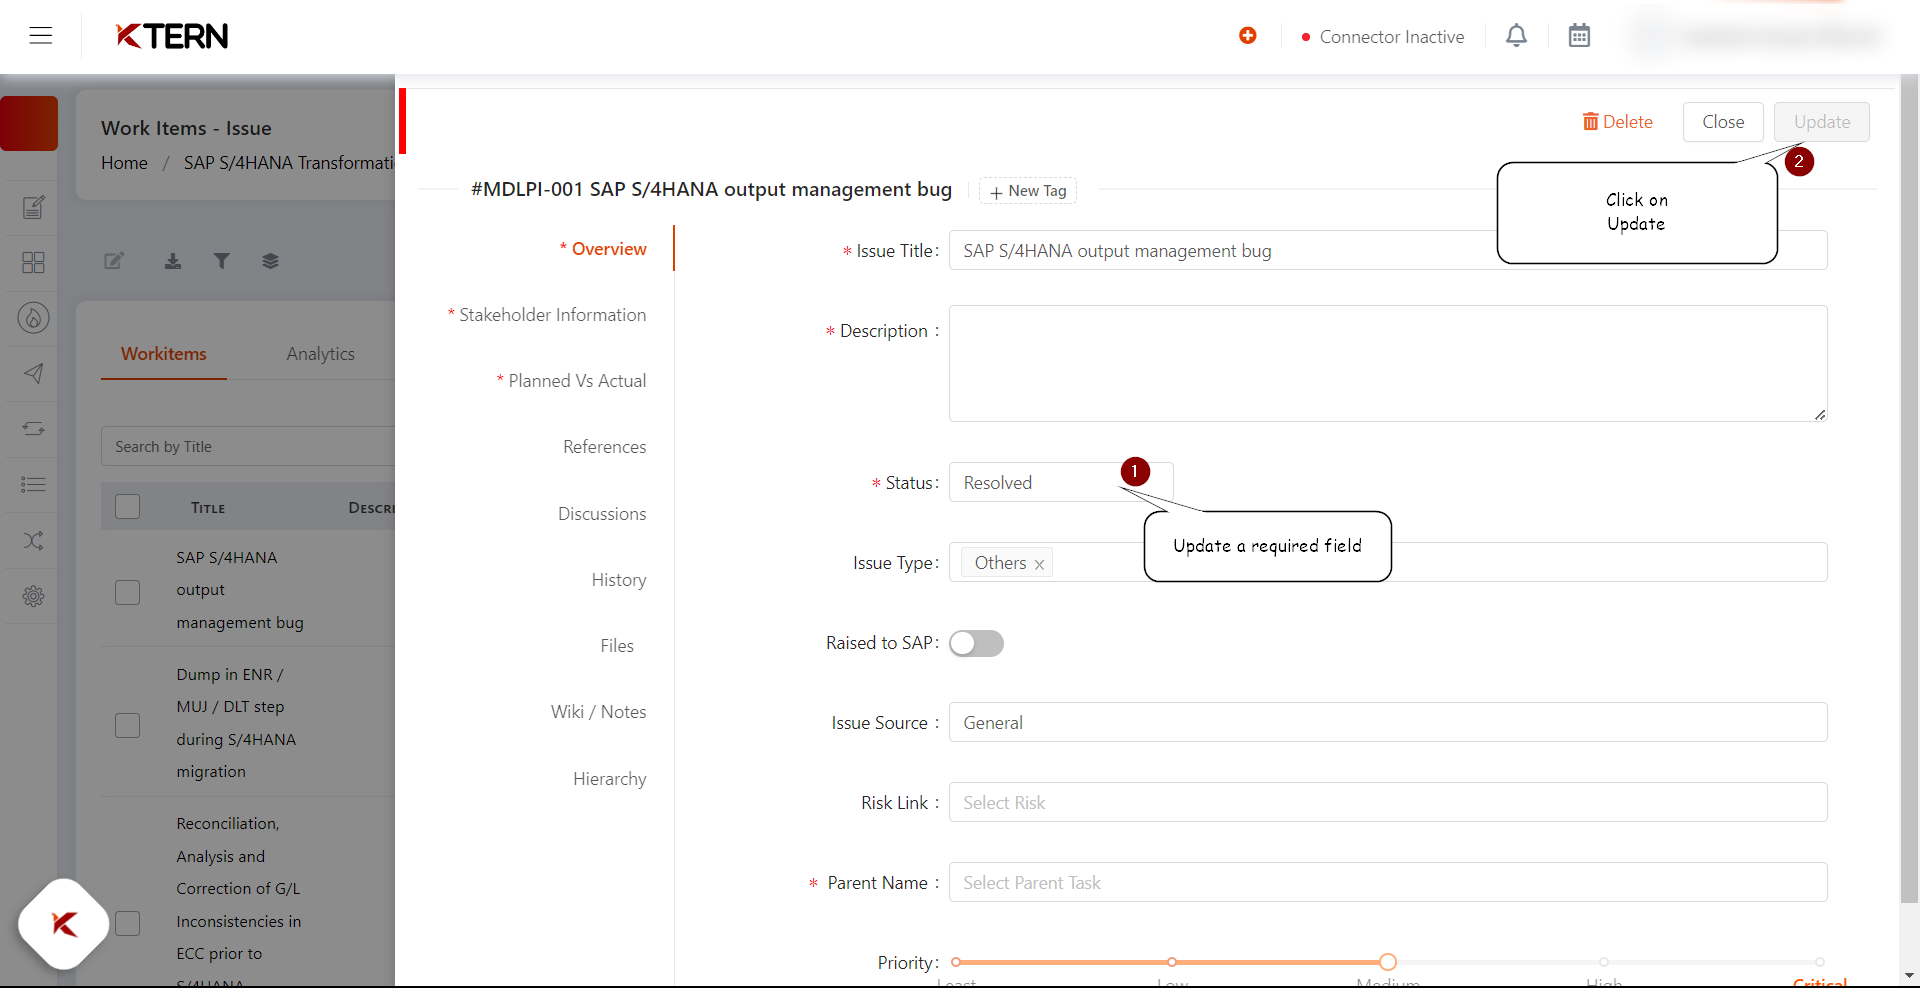
- Use the “i” icon to update an issue.
![]()
- Use the Launch icon to get into issue Wizard.
![]()
Issue wizard provides the overall information about an Issue. Issue wizard contains:
a. Overview
Overview provides details like:
i. Stakeholders
ii. Planned Vs Actual
iii. Files
iv. Discussion
v. Work item Hierarchy

b. Wiki Notes
Wiki notes is a inbuilt notes where a user can make note of key information for an issue.

c. History
History helps to have track on the updates and work happening in an issue.

d. Reference
References provides details like modules, business process, Transport request, OSS notes, T-Code, WRICEF objects.

- Use the filter icon to effectively narrow down the issues.

- Use the Group icon to effectively group the issues based on:
a. Status
b. Parent task
c. Assigned to
d. Work Package

- To track overdue data in issues, Select Overdue Data.
Analytics
- To visually understand the status of all the Issues, Click on Analytics. A pie chart with the details of the status and number of overdue items appears.

Insights
-
To create your own reports, Click on insights. You will be redirected to the insights page.
-
Click on the “+” Icon to create a new report.
-
Now click on the settings icon to set the preferred Chart type, group, sort and filter.
